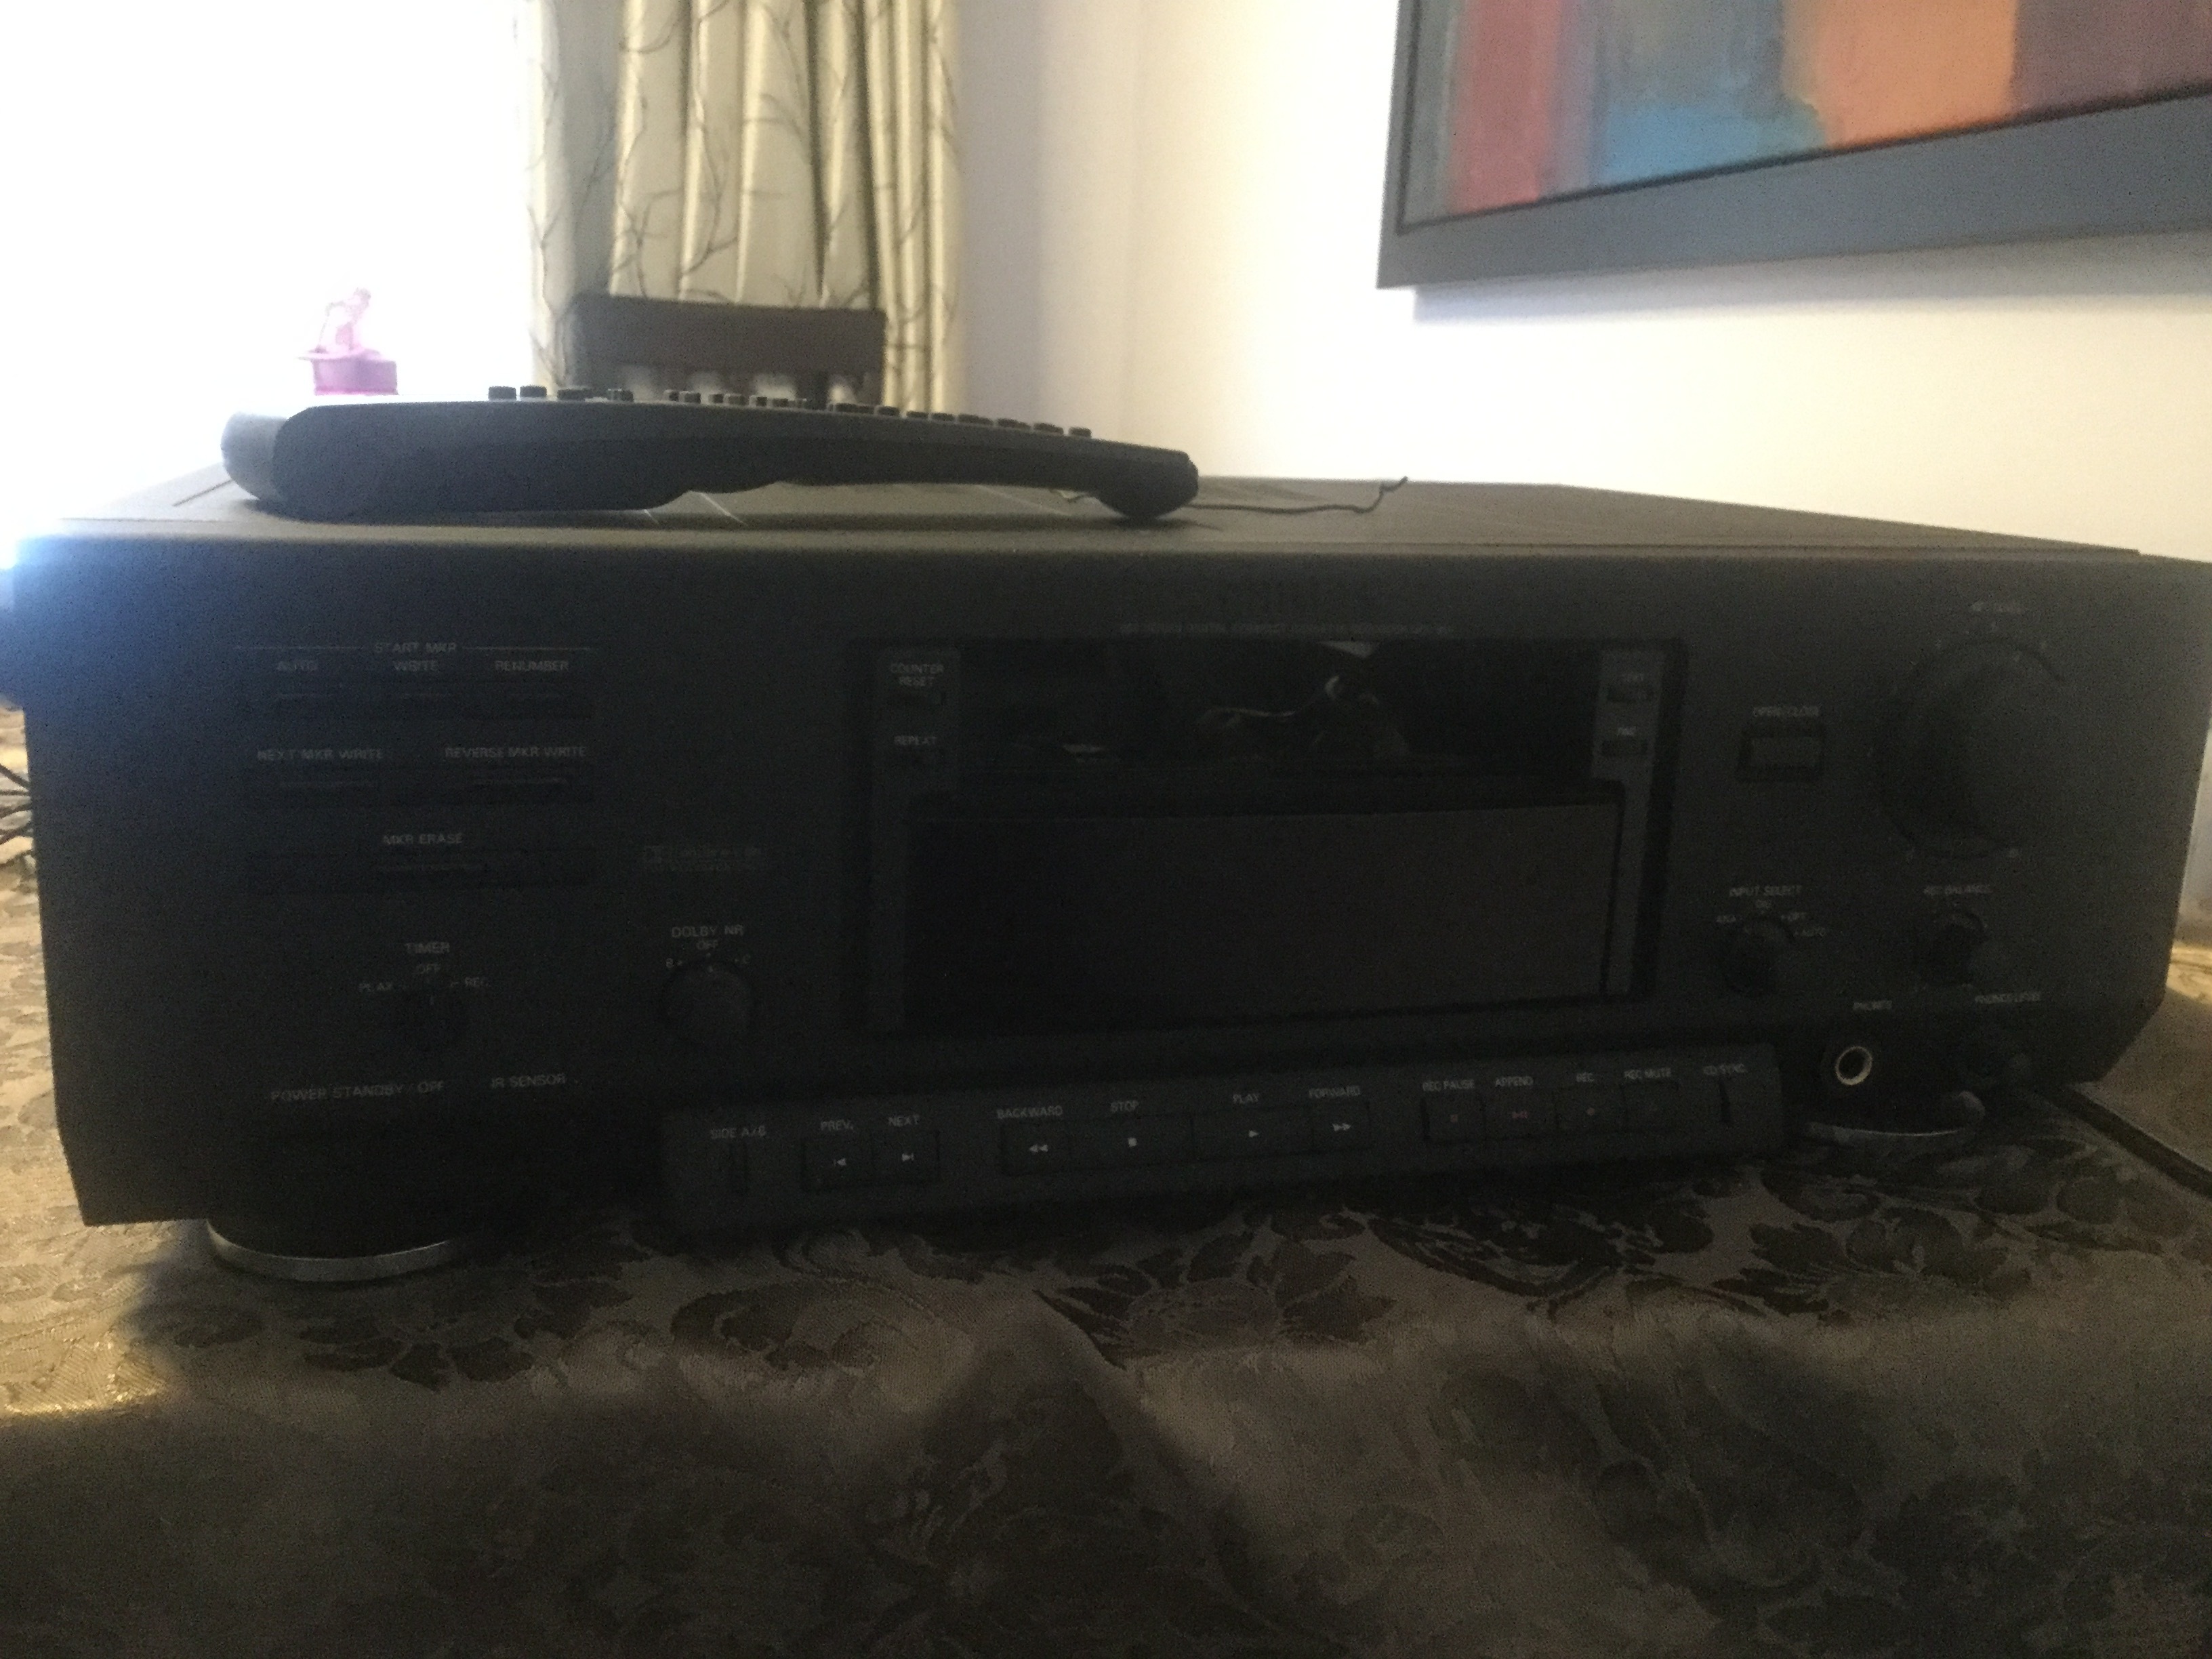
Hello I was wondering if there was a diagram that showed the placement of capacitors when replacing them on the circuit boards of the DCC 900 player. I’ve watched Dr DCCs YouTube video on repairing the 900 and ordered the suggested replacement caps, but am unsure of their placement on the boards.
There are 5 different types of capacitors, how do I know which goes where? Are the existing surface capacitors labelled with the same corresponding markings as the replacements (standard capacitors, not surface mount).
Hello Dr DCC
Today I purchase Philips 900
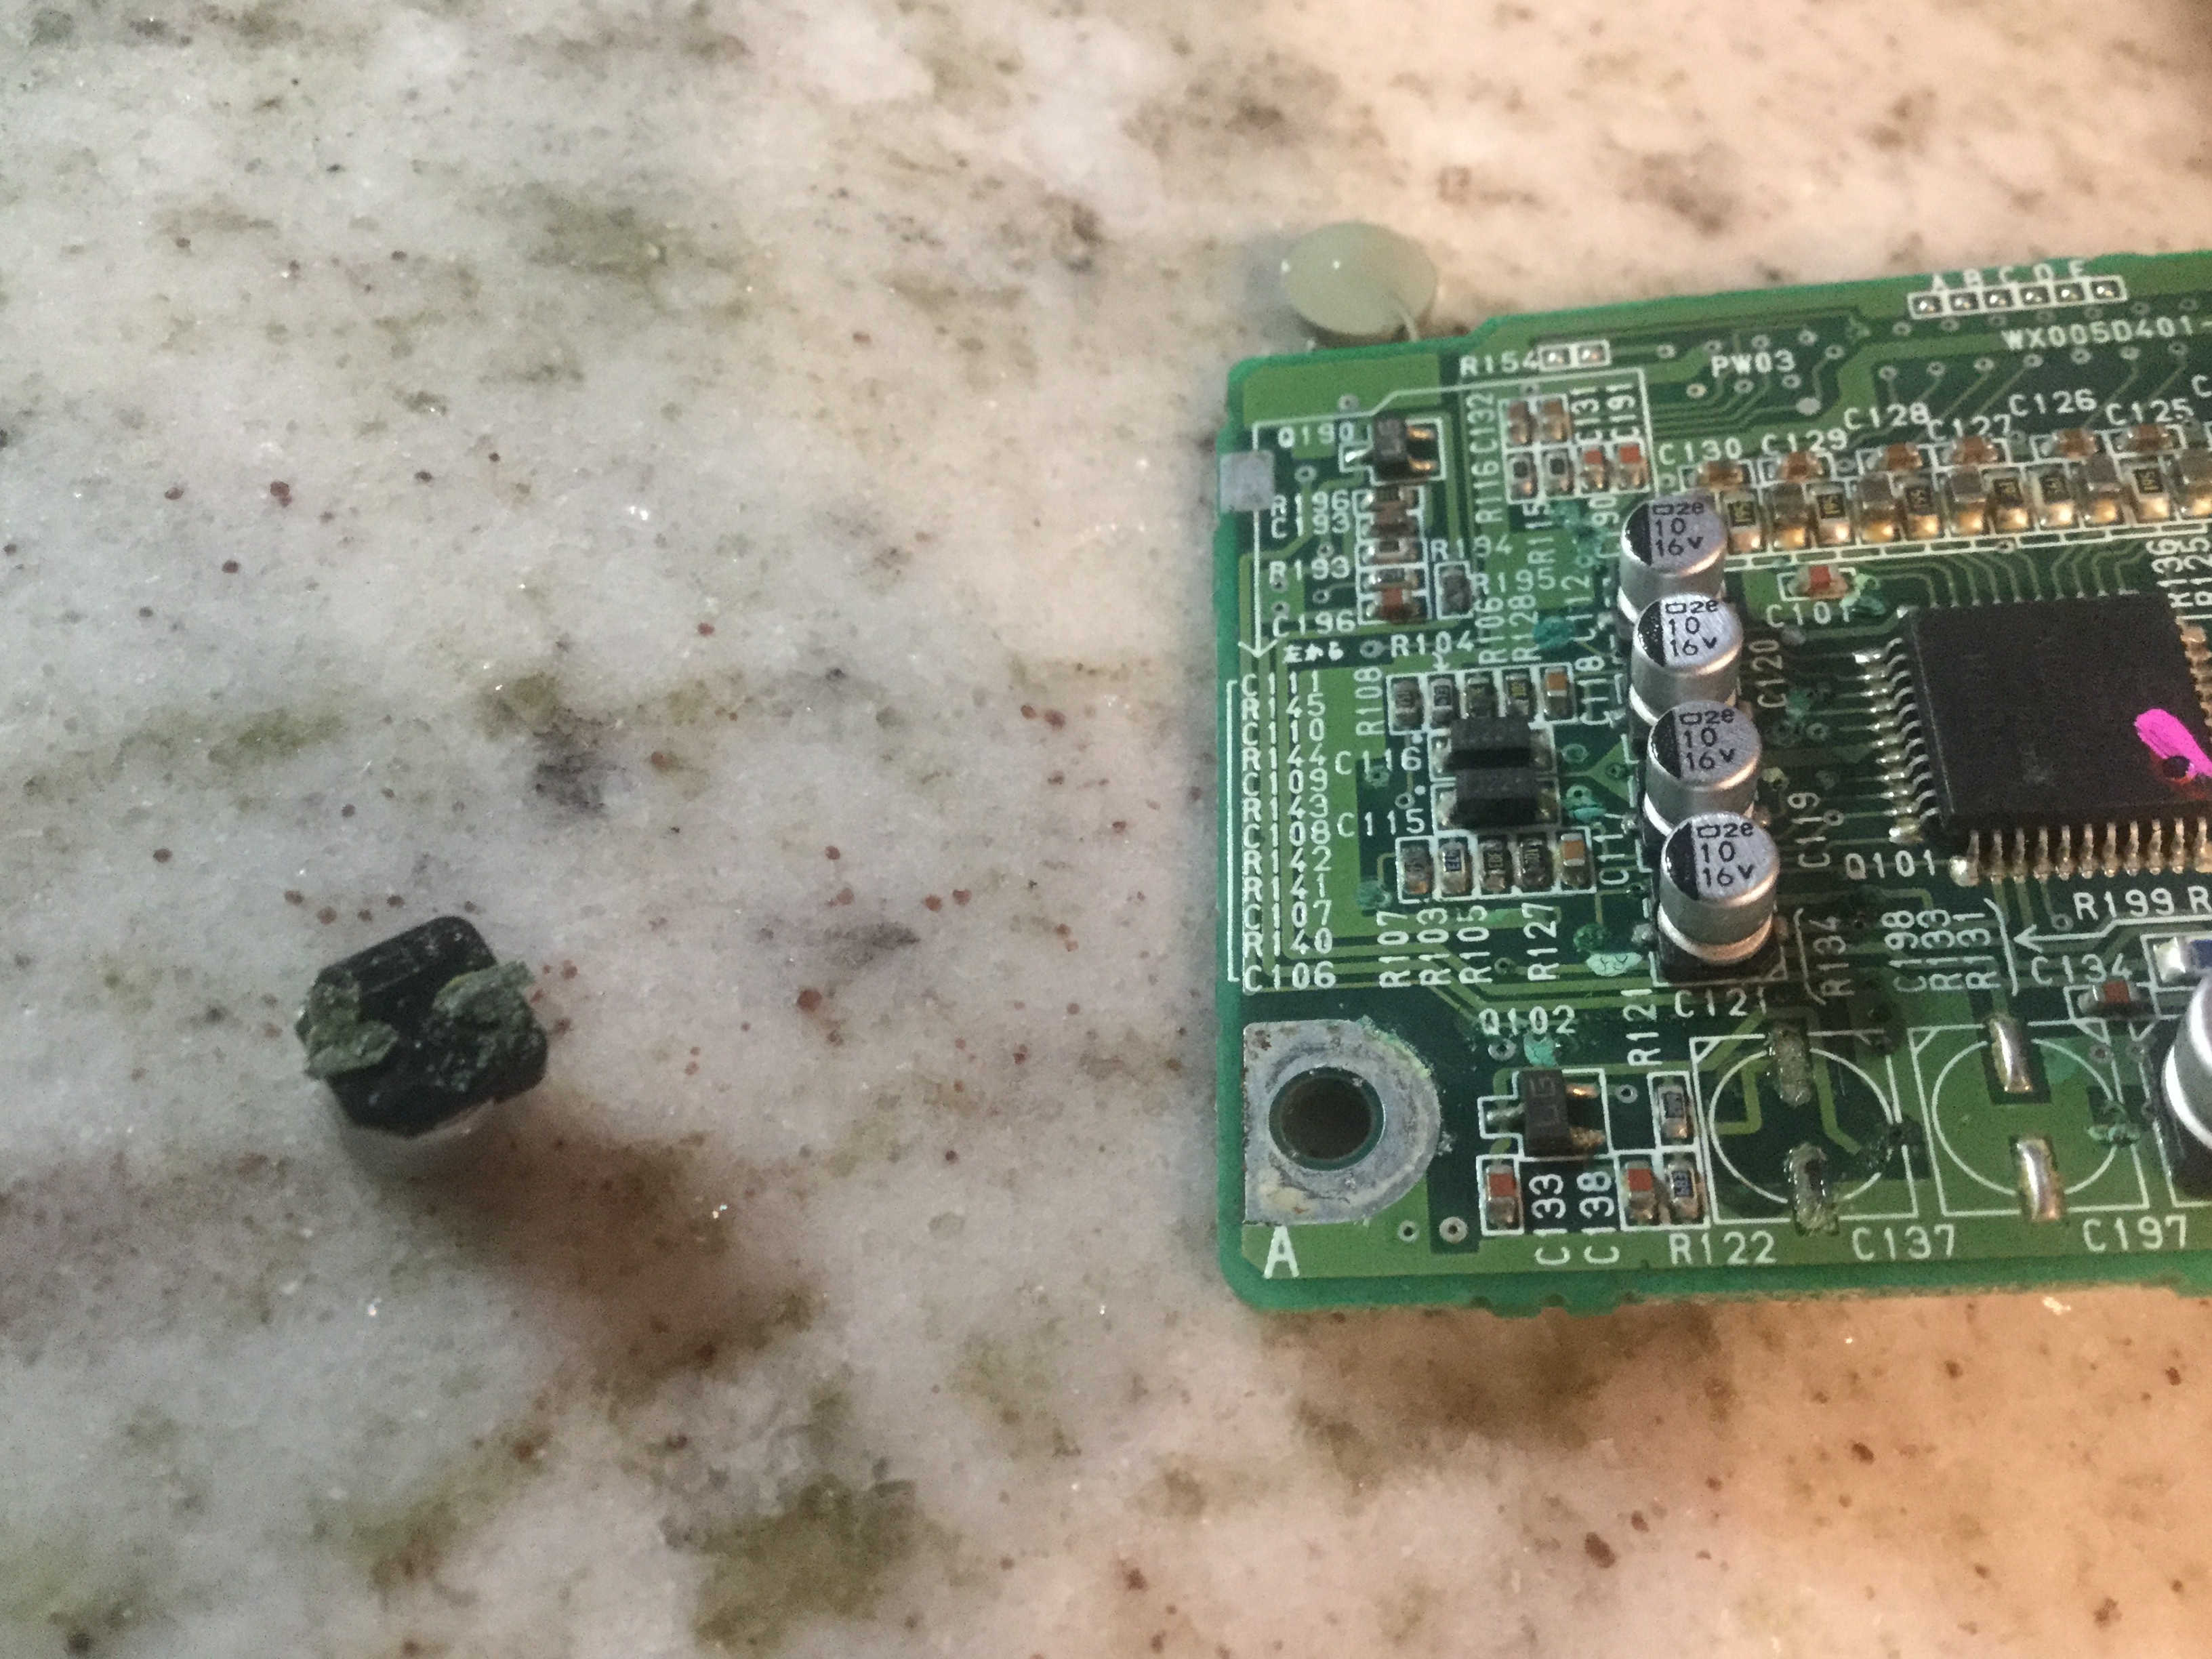
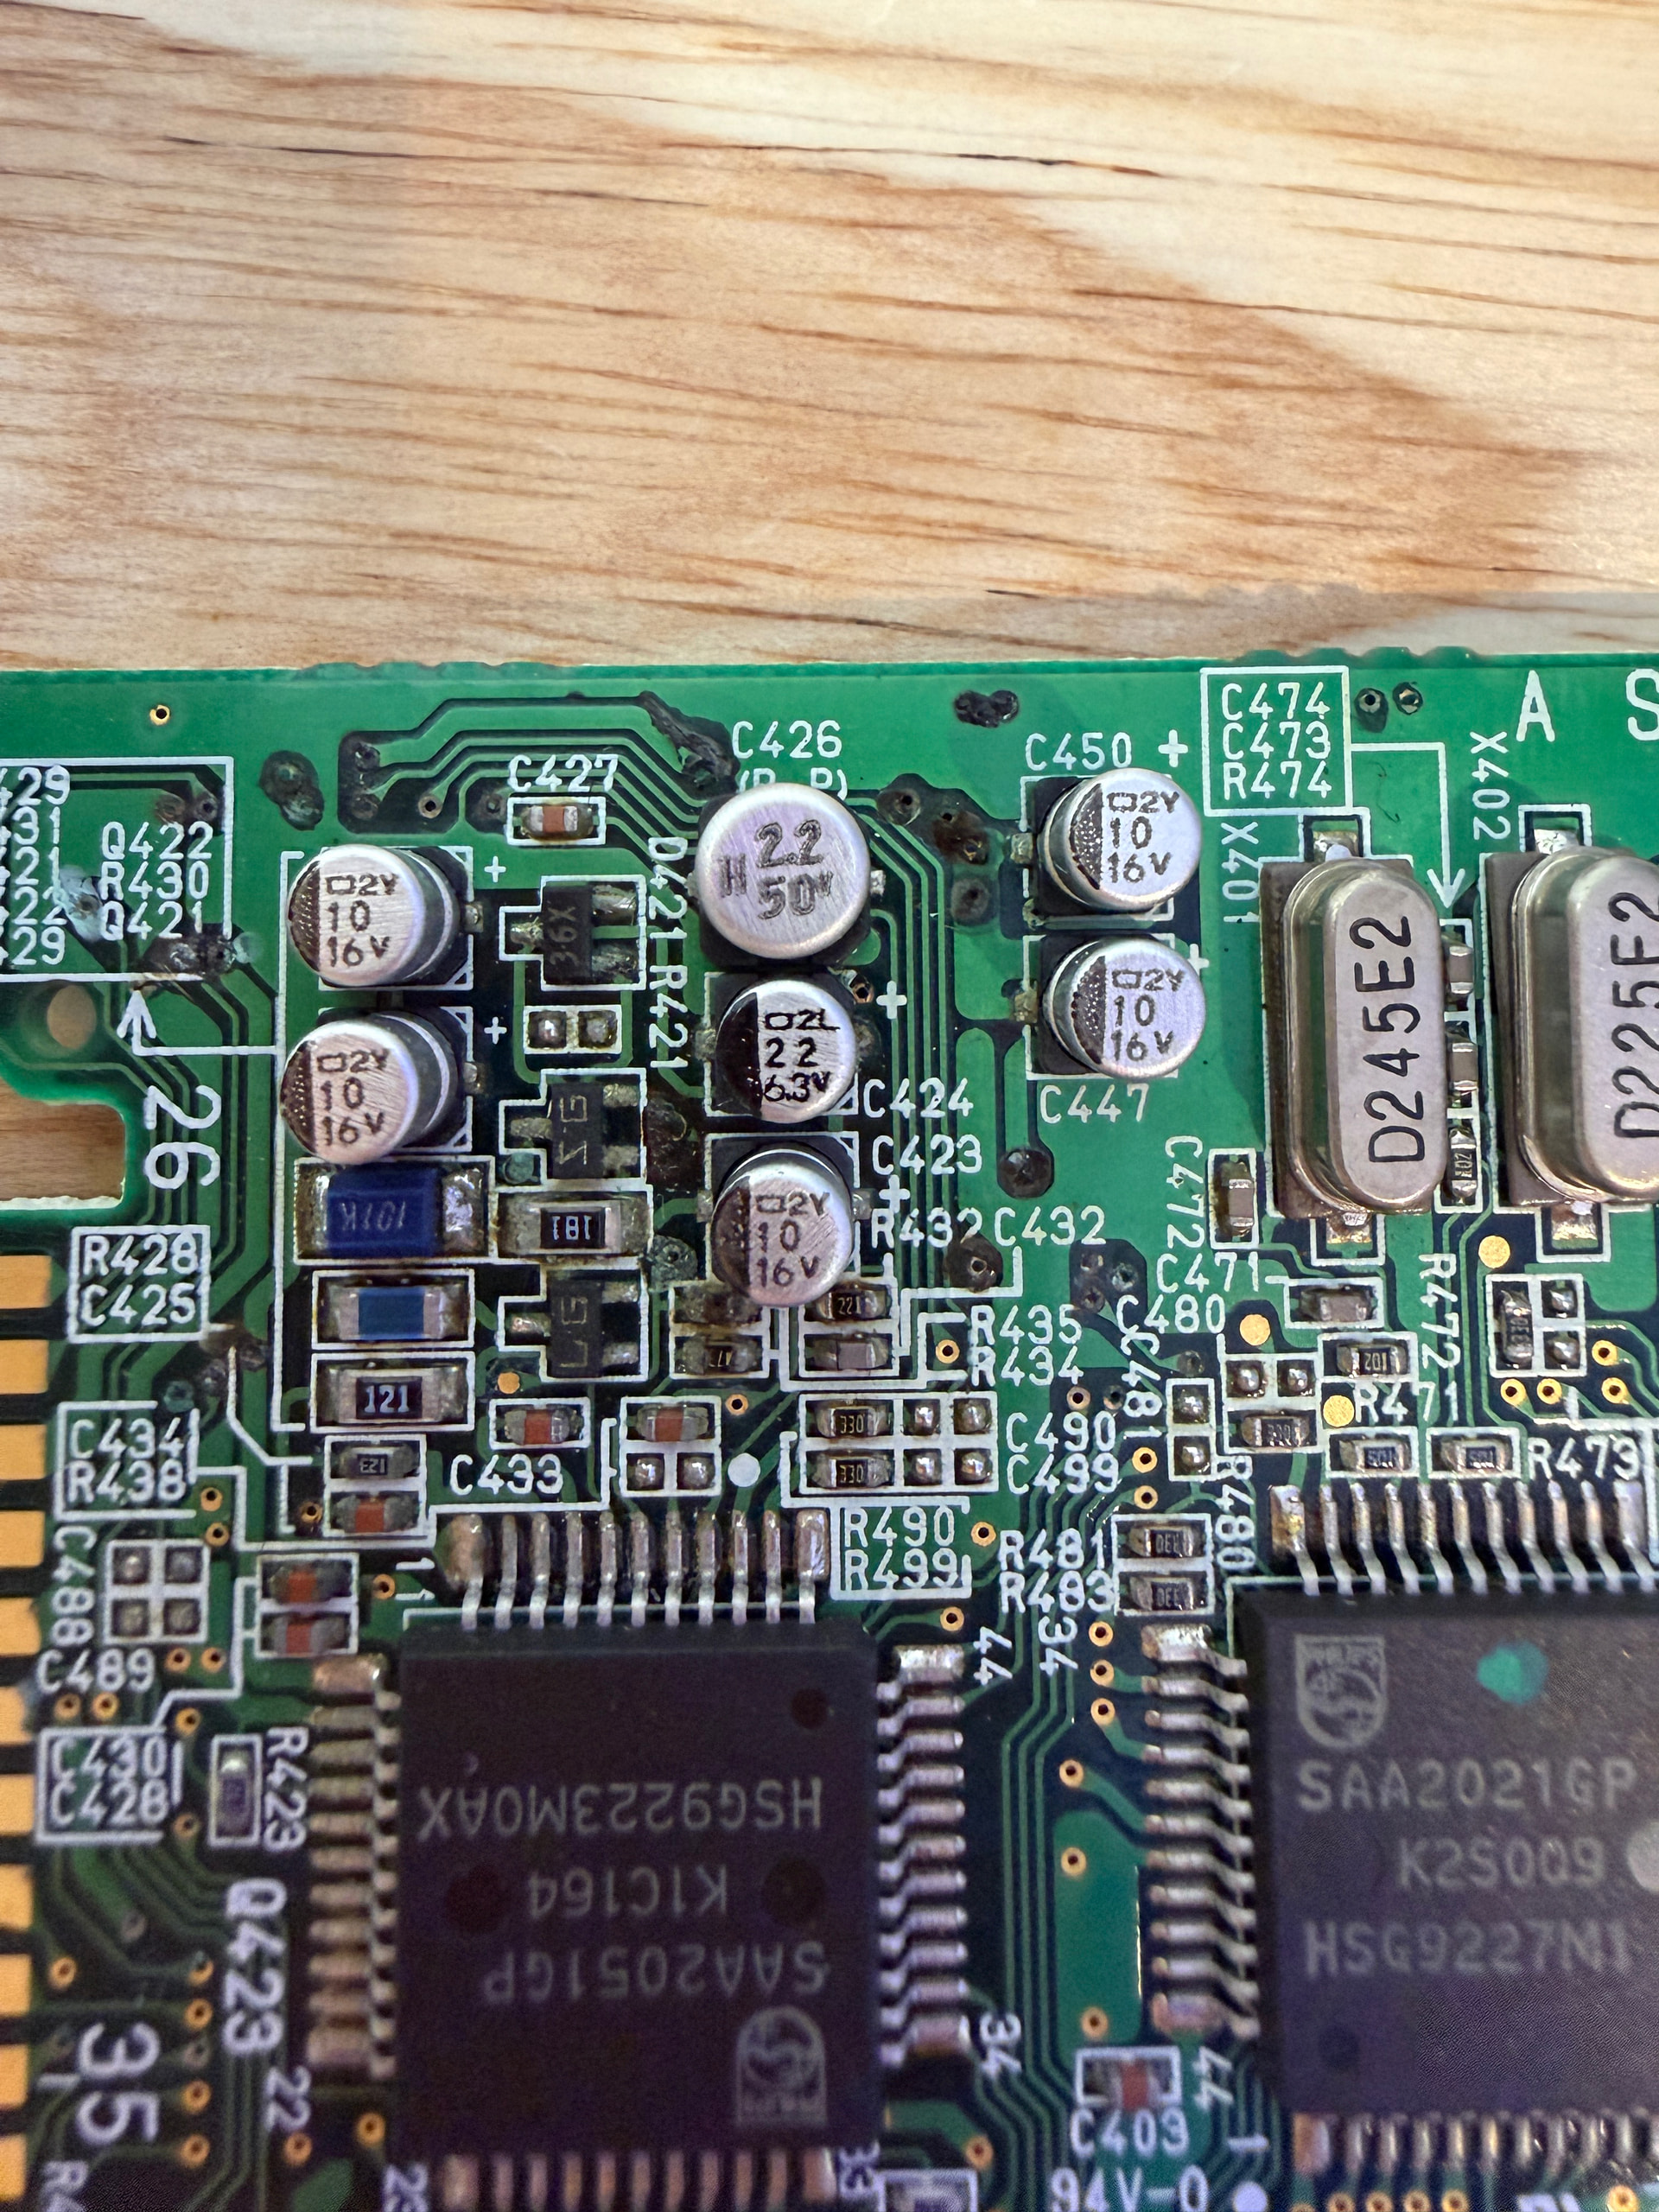
I removed two audio boards one capacitors broke I don’t know if this still gonna work greenish corrosion is this beyond repair
Please let me know how many and what kind of capacitors I need for Philips 900
Is there one leg positive and other negative or this doesn’t matter how I install them
This audio print boards are some on Philips 900 and Technics rs dc10.?
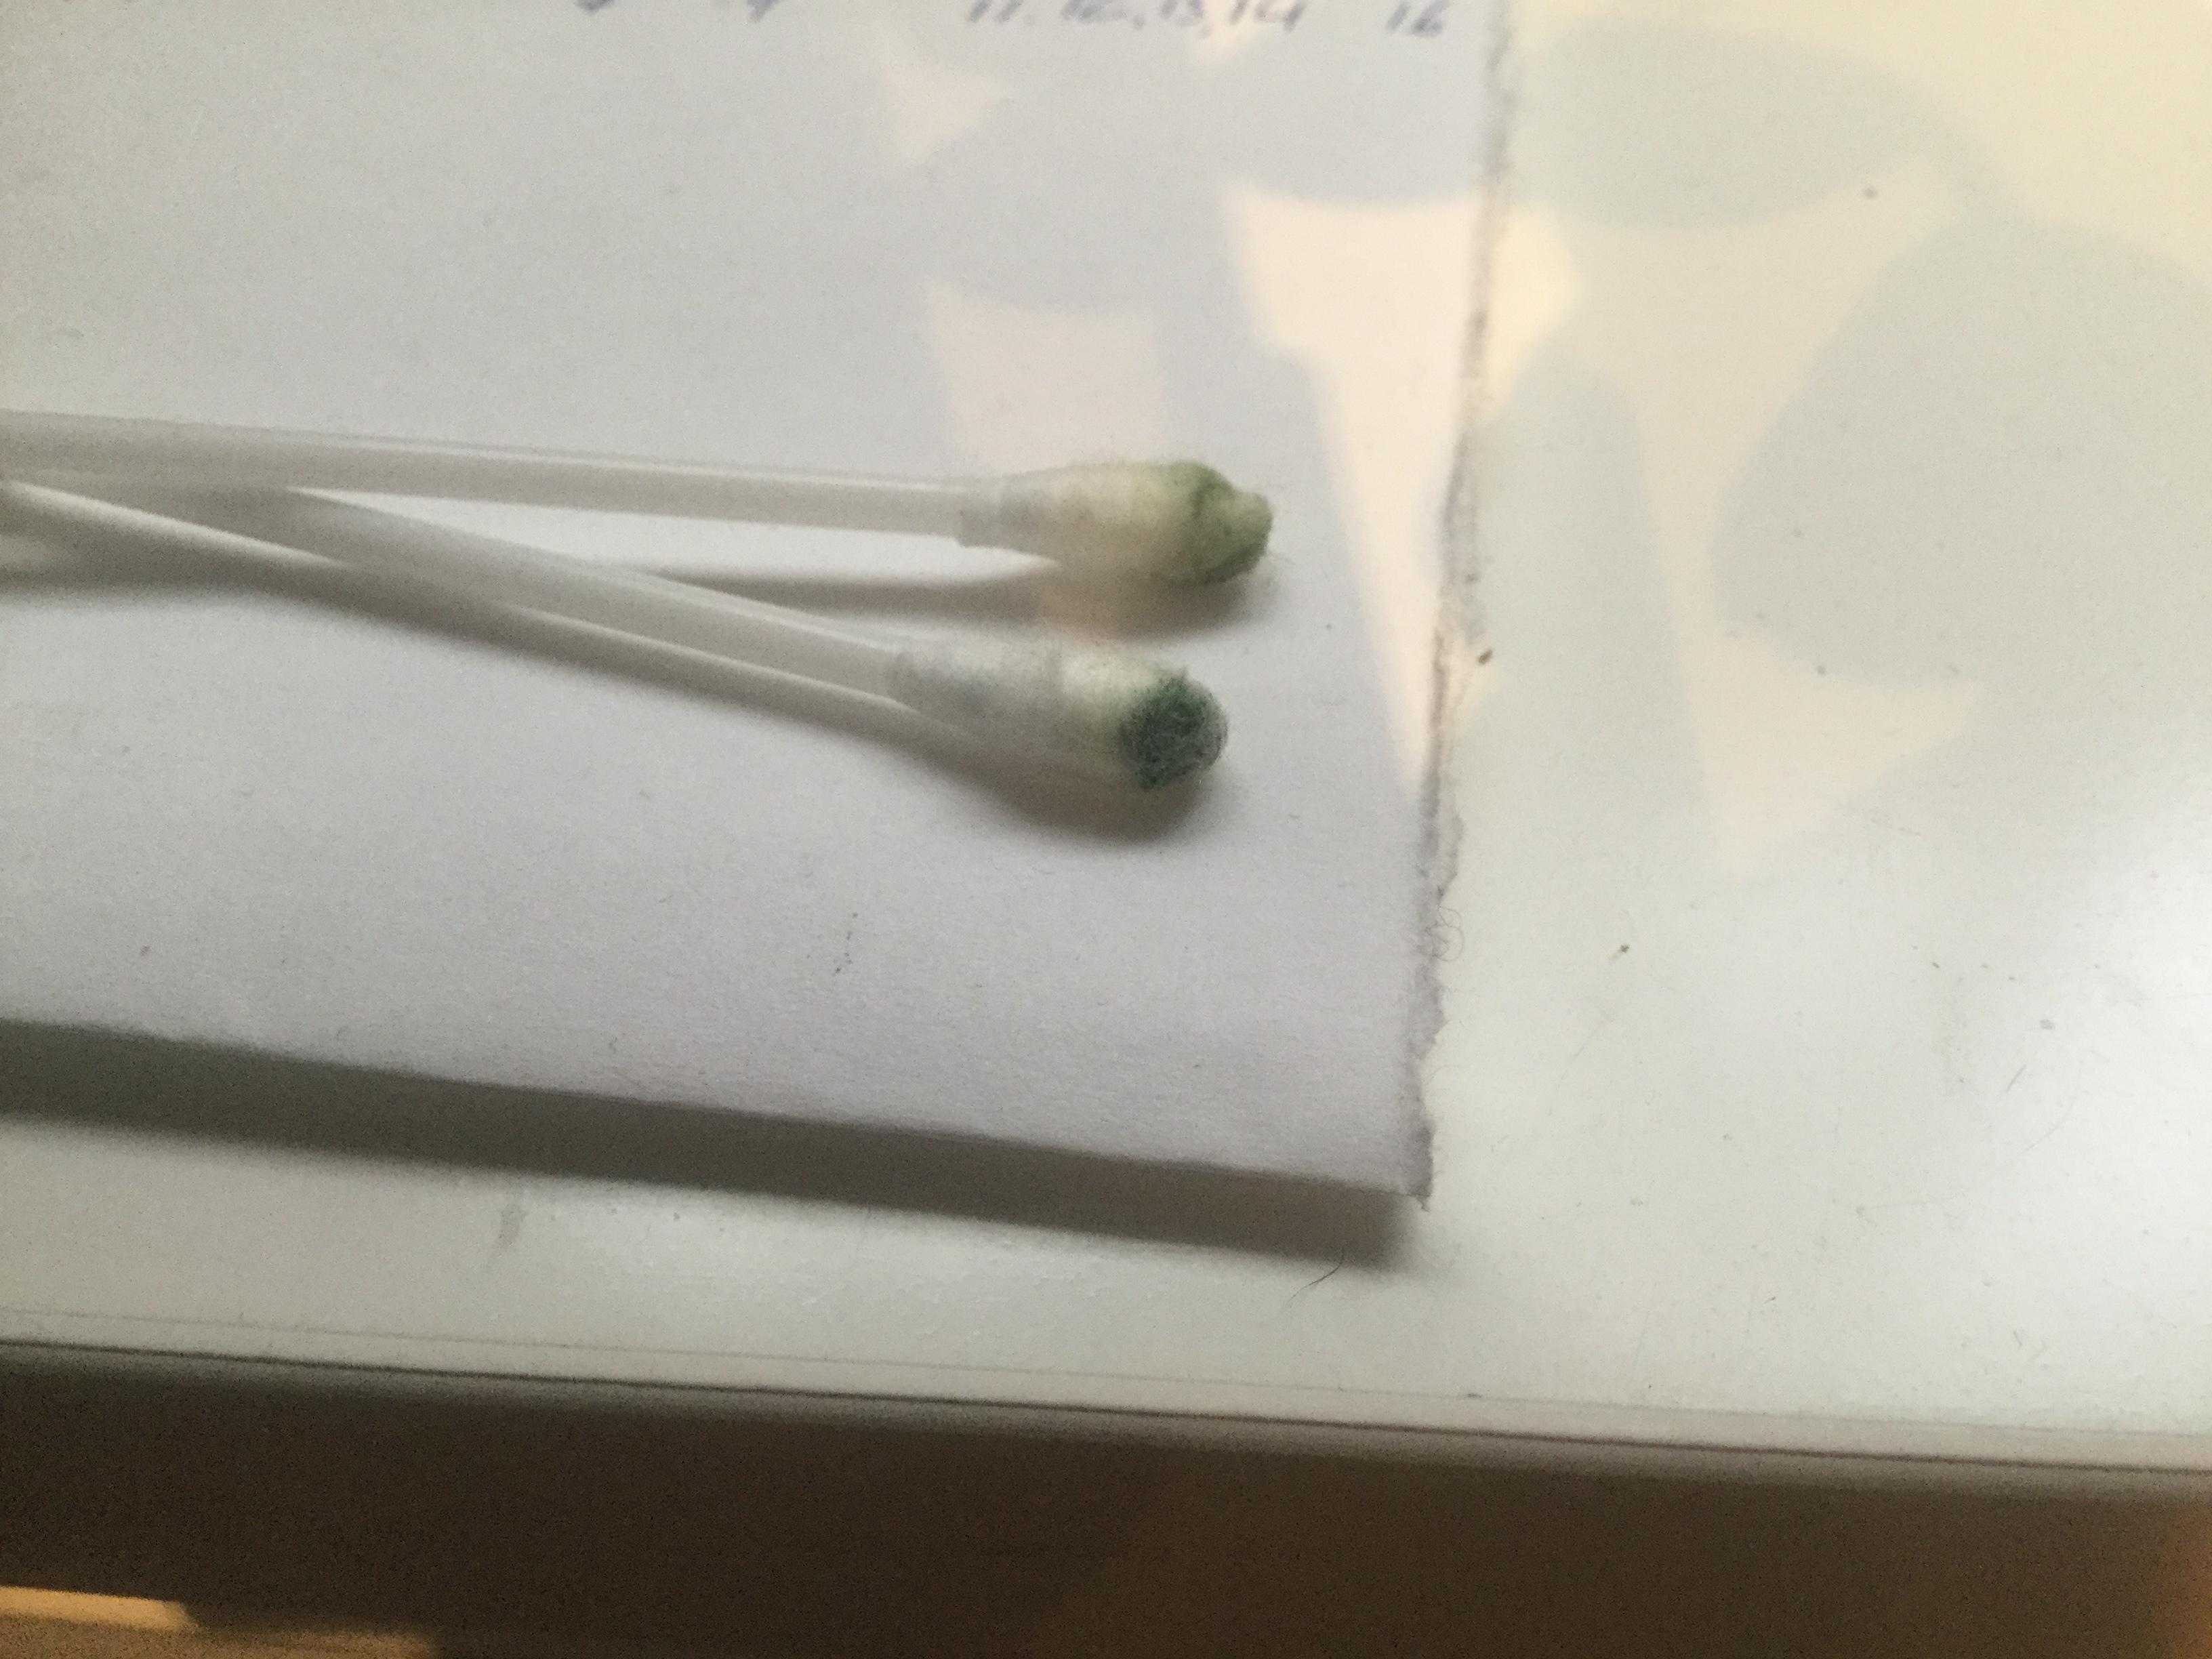
Very important to clean print boards from acid that spills from capacitors q tips green
I still didn’t remove capacitors I don’t have hot air gun I wonder if I can use some other method
You can either cut them off or twist them off. I do not like these methods personally because chances of damaging the boards are higher. Normally it works (tested), but the acid leaking acts like glue and you might tear off the copper pads.
Hi everyone
After receiving capacitors from museum I hire technician to install them because I didn’t have hot air gun ,after that I install audio boards and nothing no audio whatsoever now I’m trying to make additional bath in alcohol to dissolve leaky acid from this multi layer boards and if this don’t solve problem looks like I’m running out of ideas thx
I hope everyone of you stay safe
Hi Markosz.
That is bad news. In the restoration video of the Technics RS-DC10 it shows that you have to check all side A-B connections. The top layer of the boar (A)d is connected to the bottom (B) and those connections can get damages by the acid leaking.
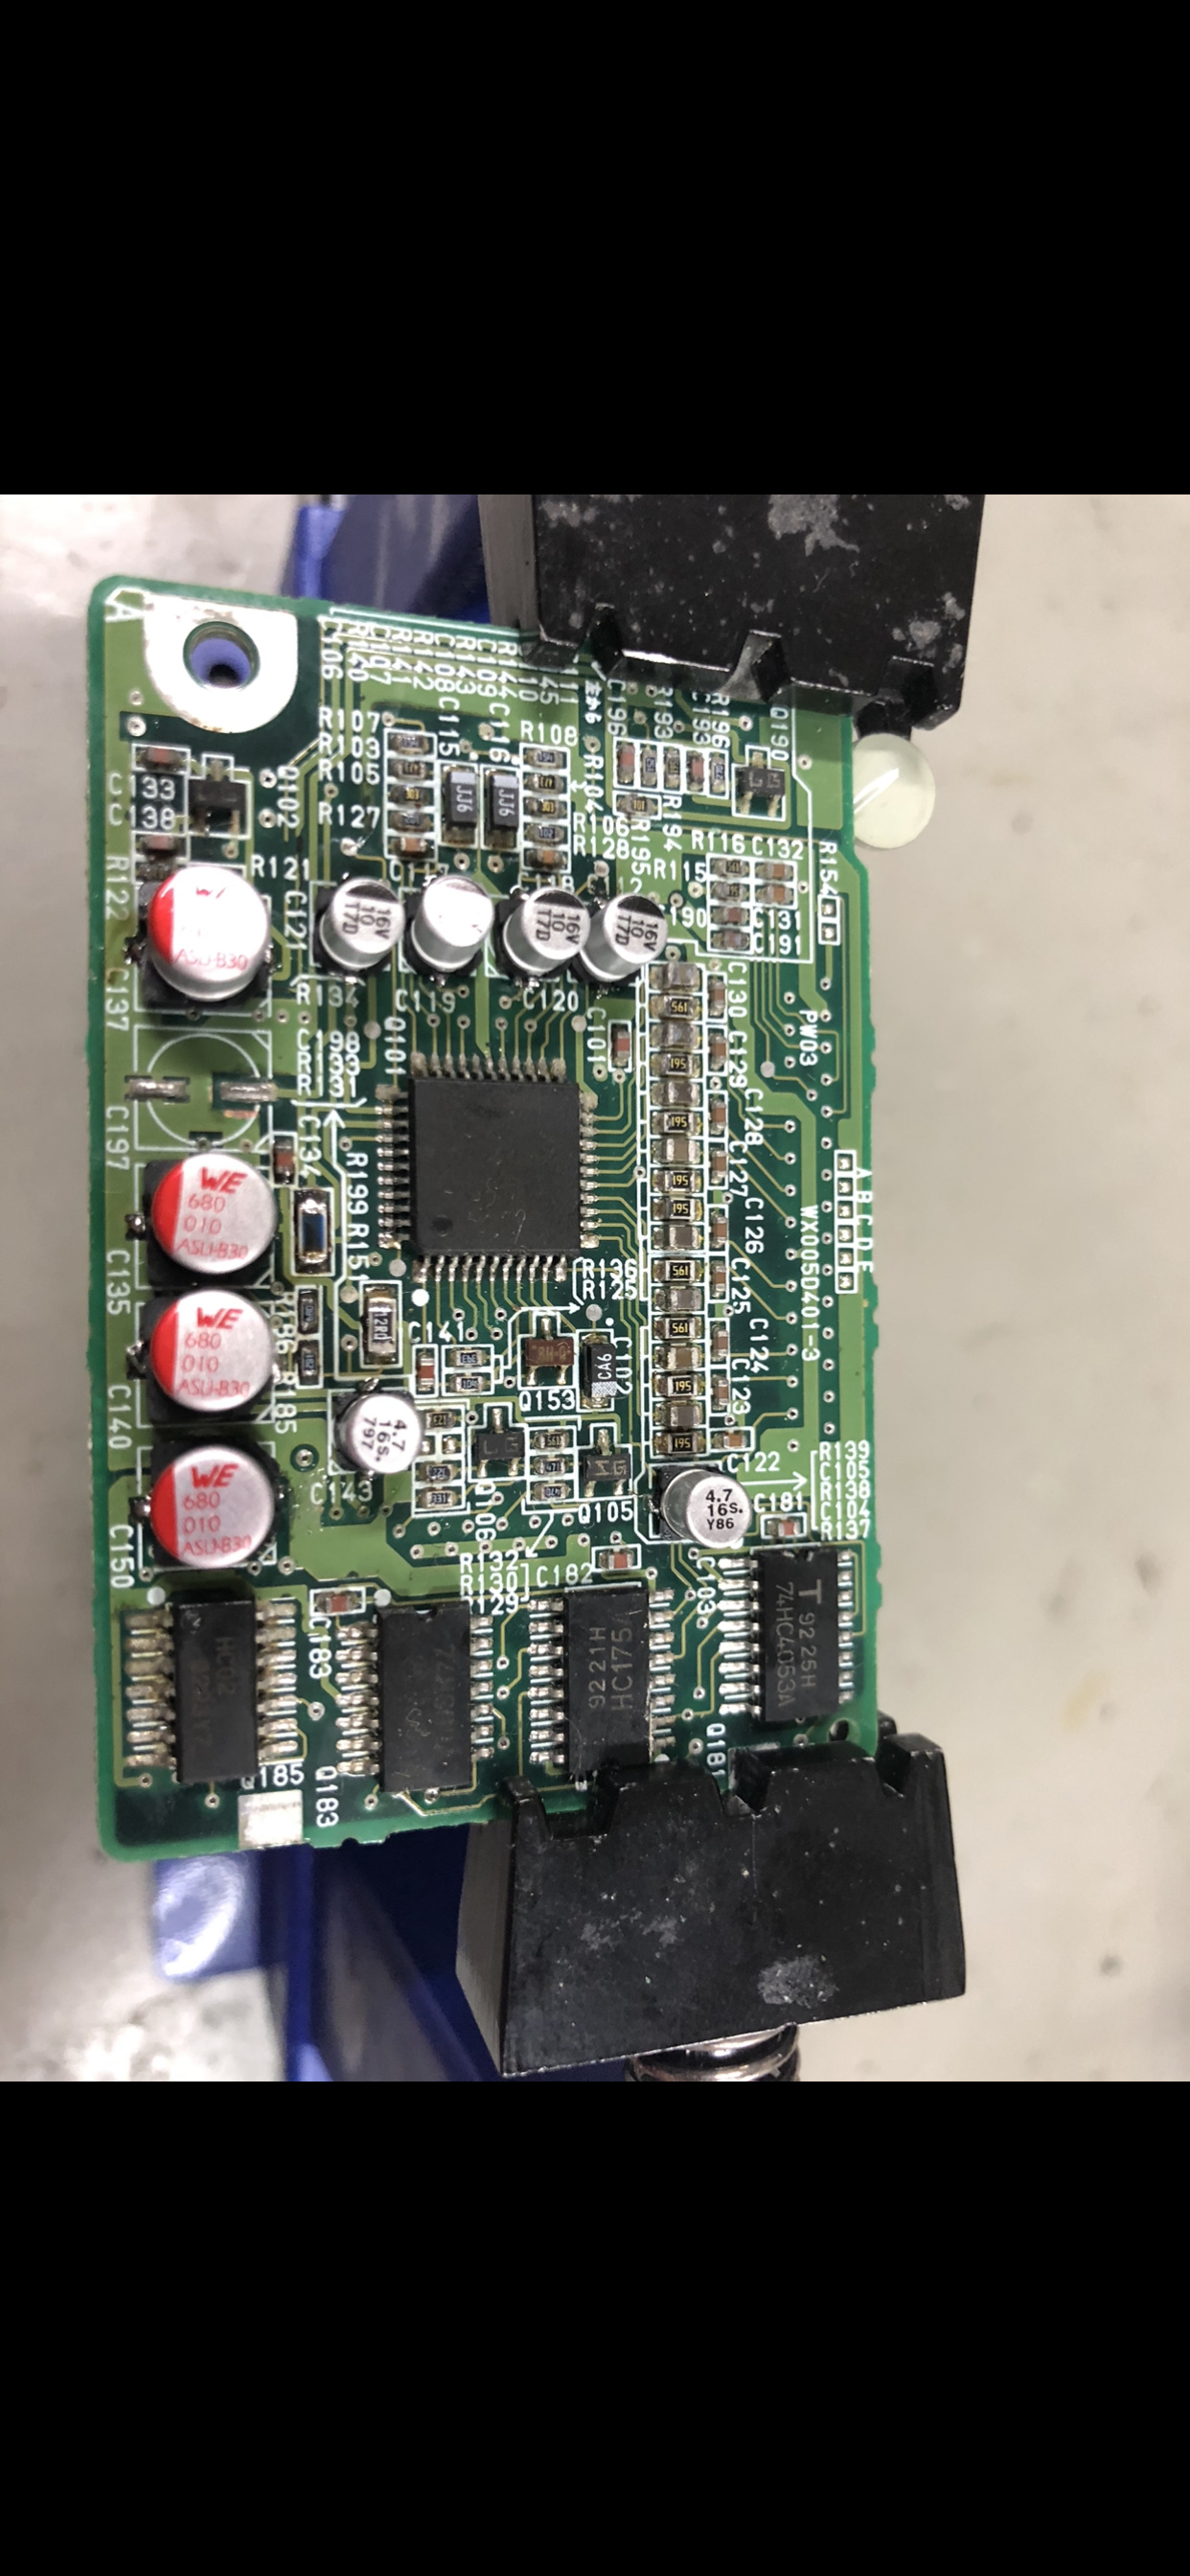
@drdcc I finally got to the replacement job on my dcc900, from a set I ordered on the site. I’ve watched your youtube video, but probably because my eyesight is not as good anymore, I can’t read which ones go where. Do you have it mapped out for both prints? Many thanks!
So I have managed to get the caps off. Two of them did not come off without damaging the pcb a bit. I’ve probably been too wild, not letting the airgun doing its work properly.
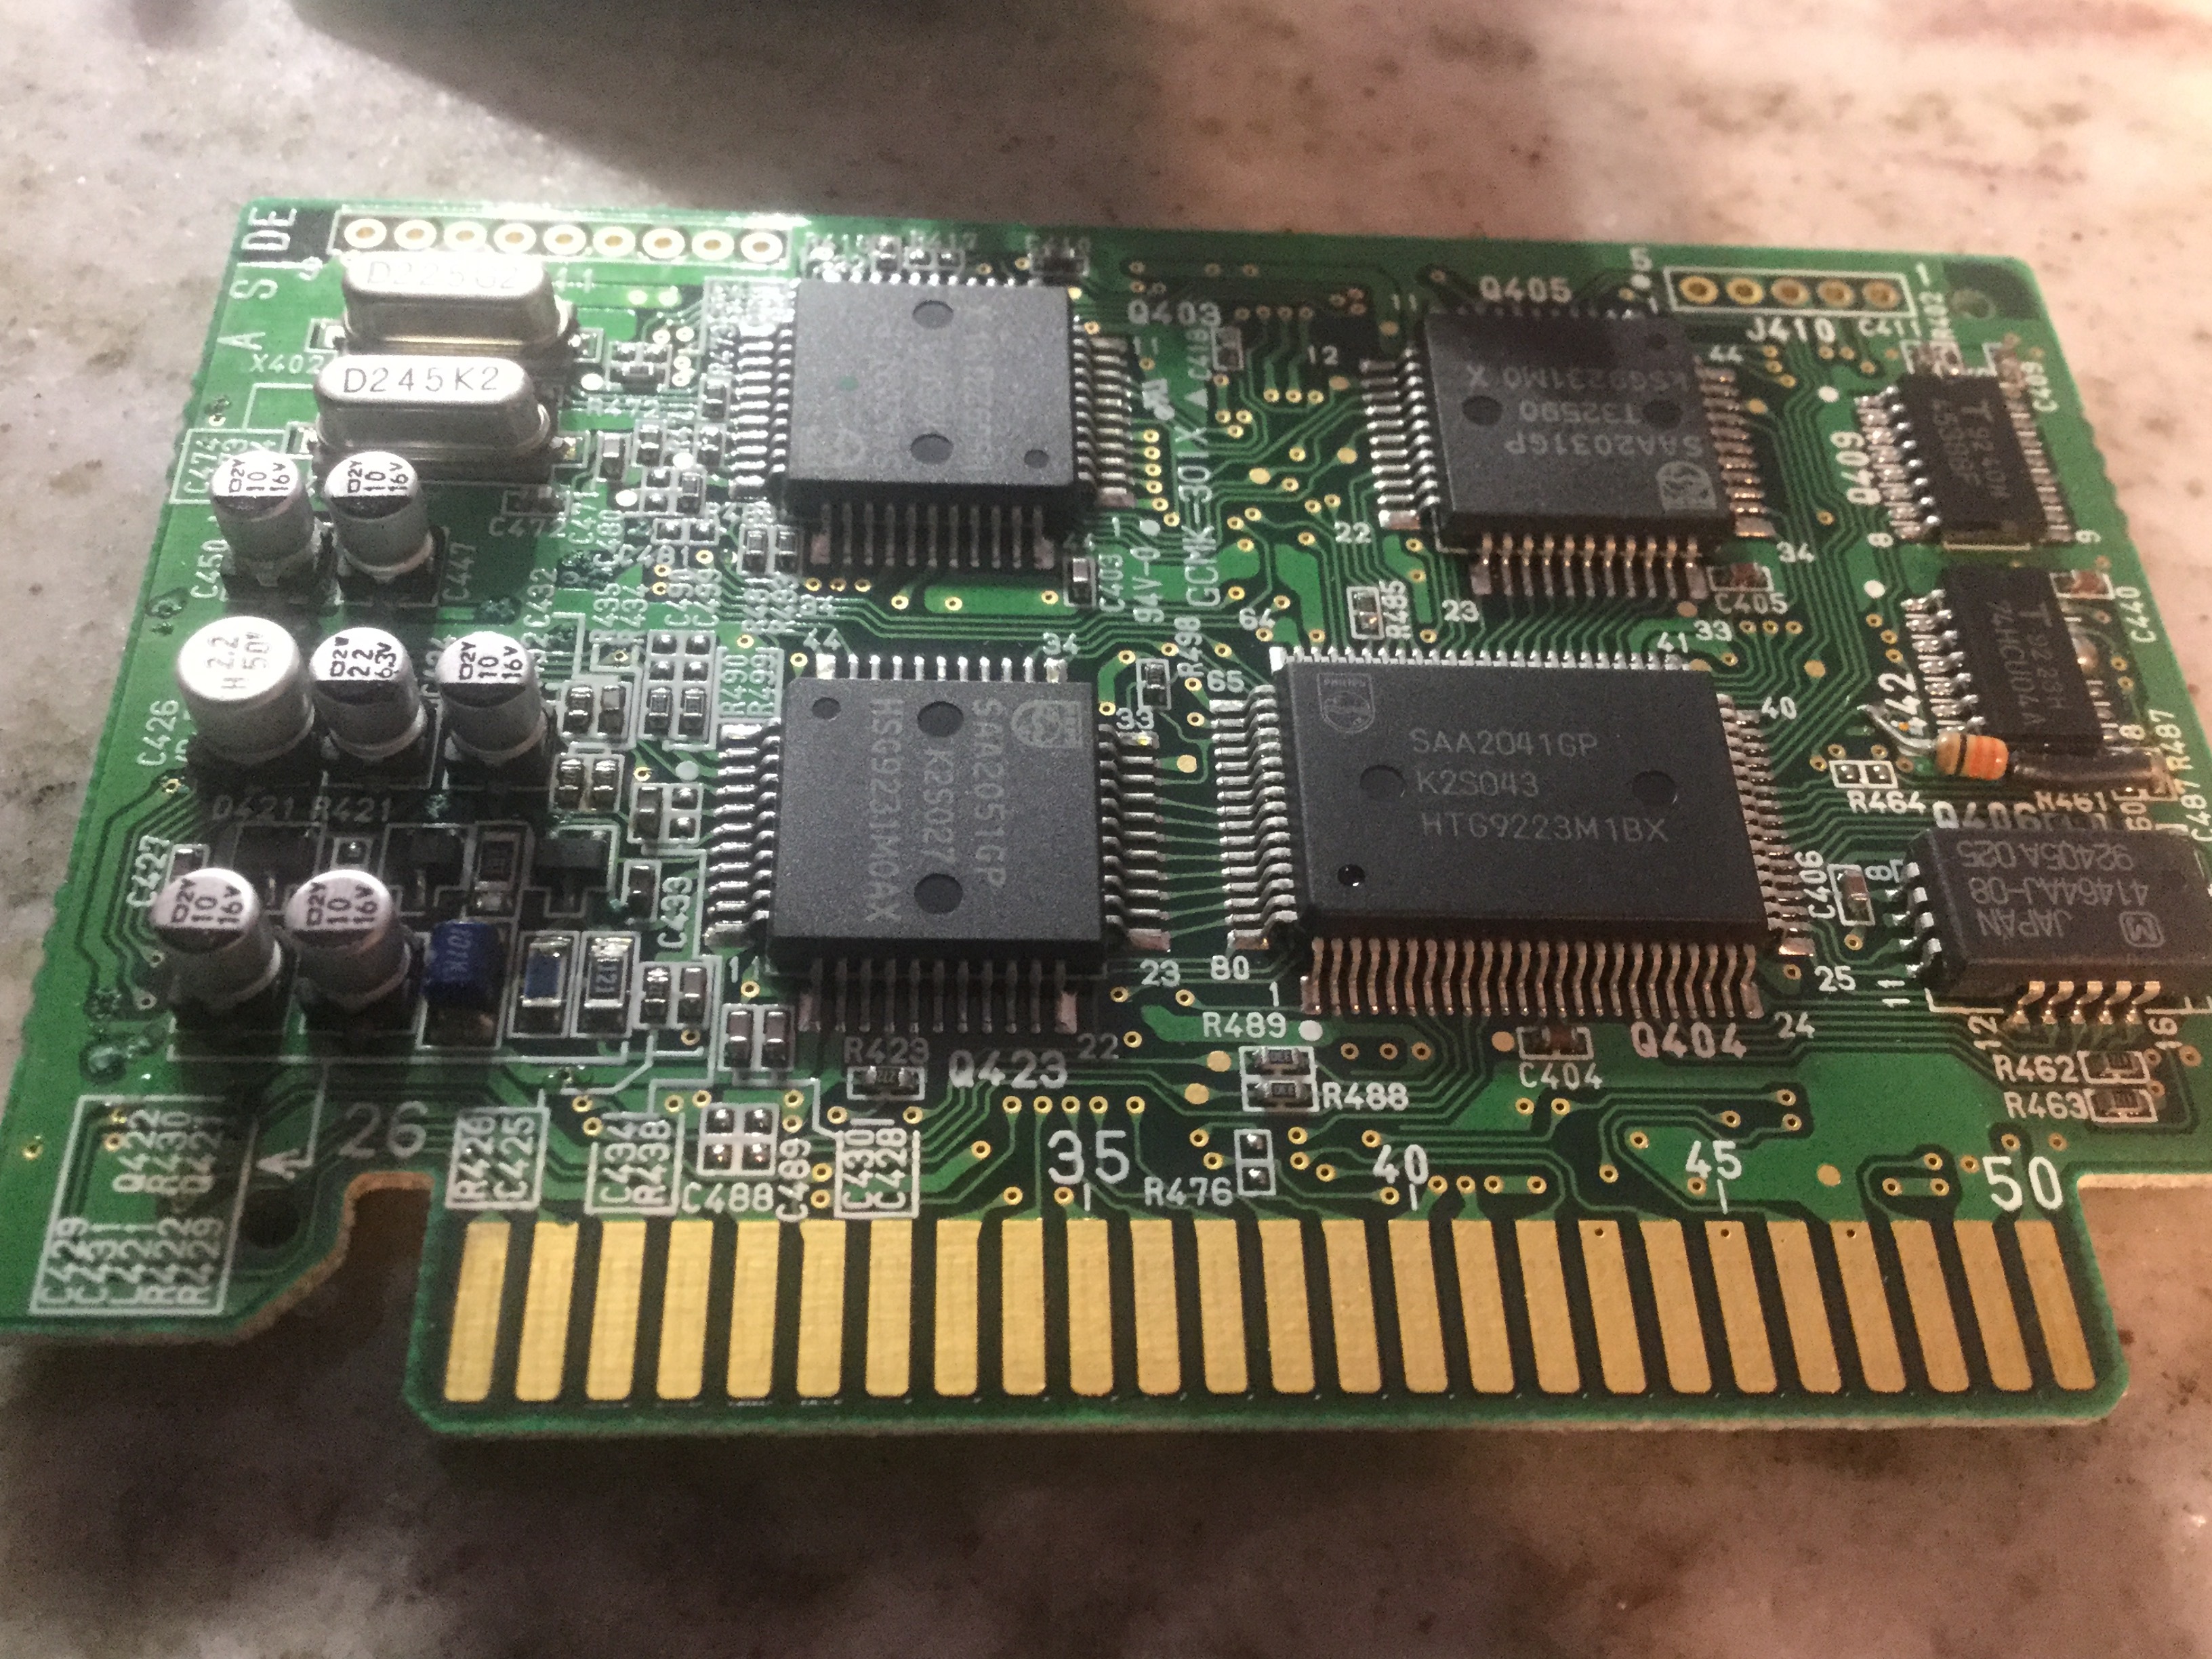
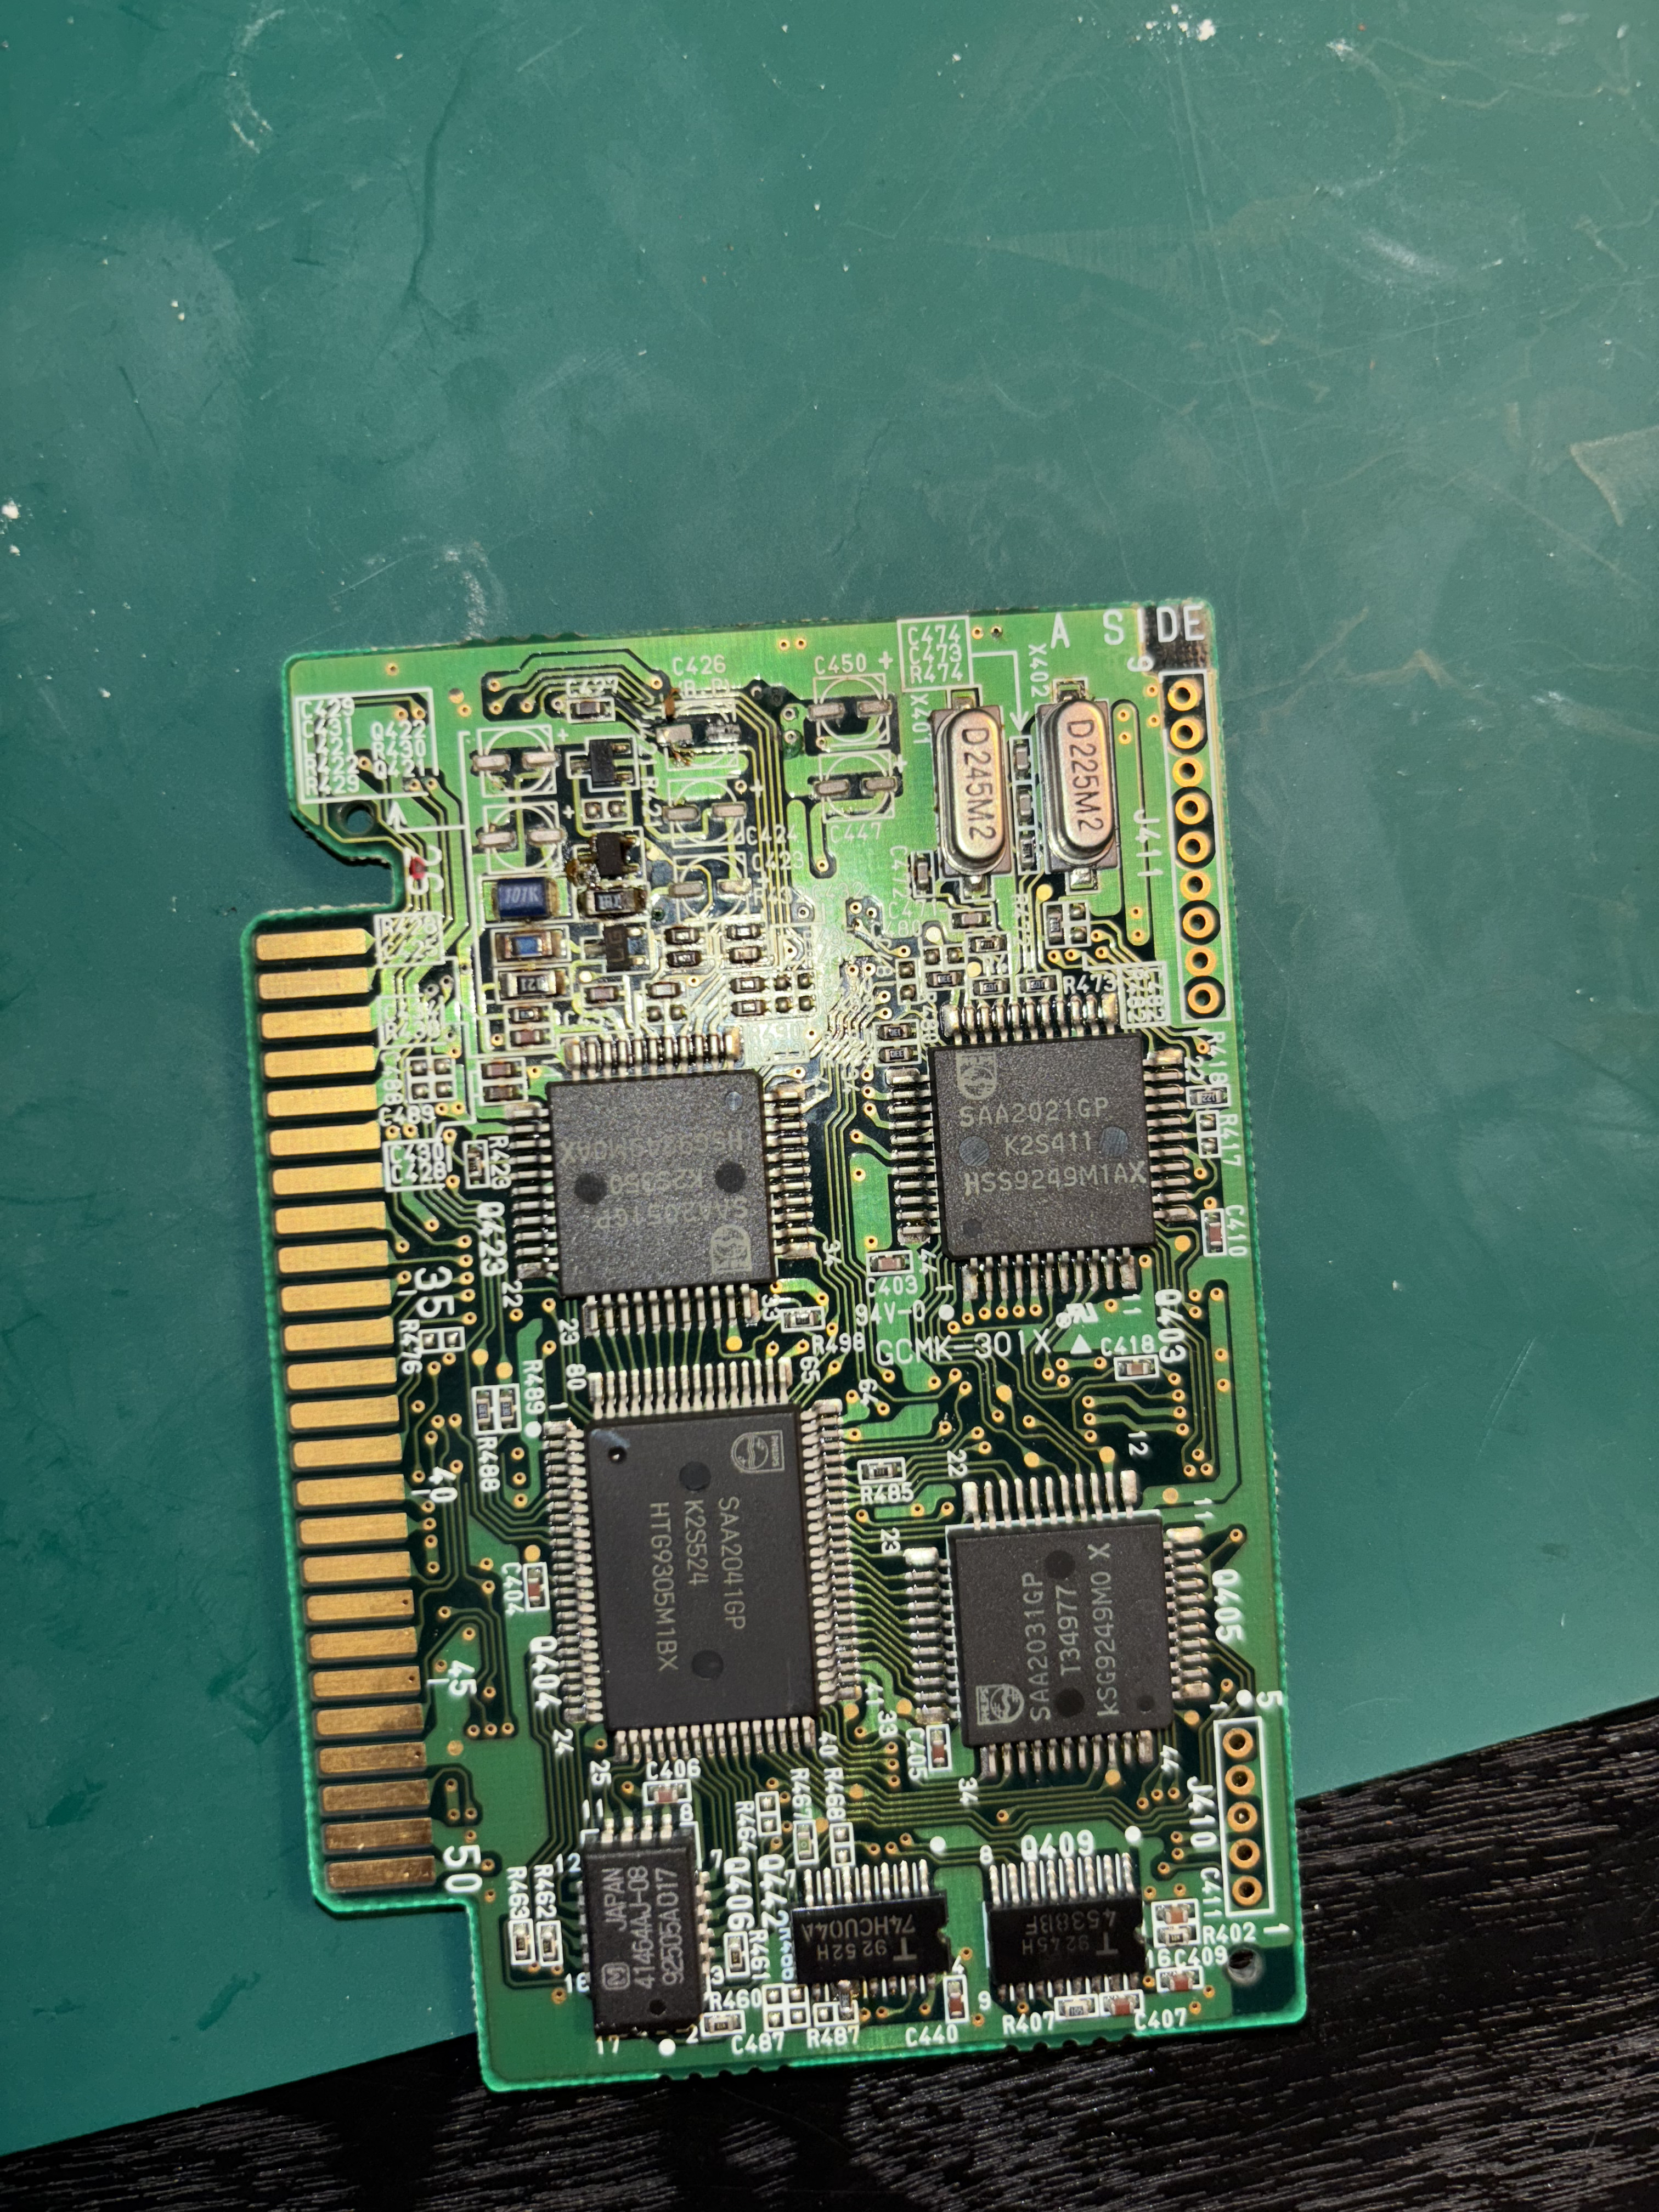
Do I see correctly that the lead that has come loose on the big board, goes to left side of C427, so can I solder it onto that?
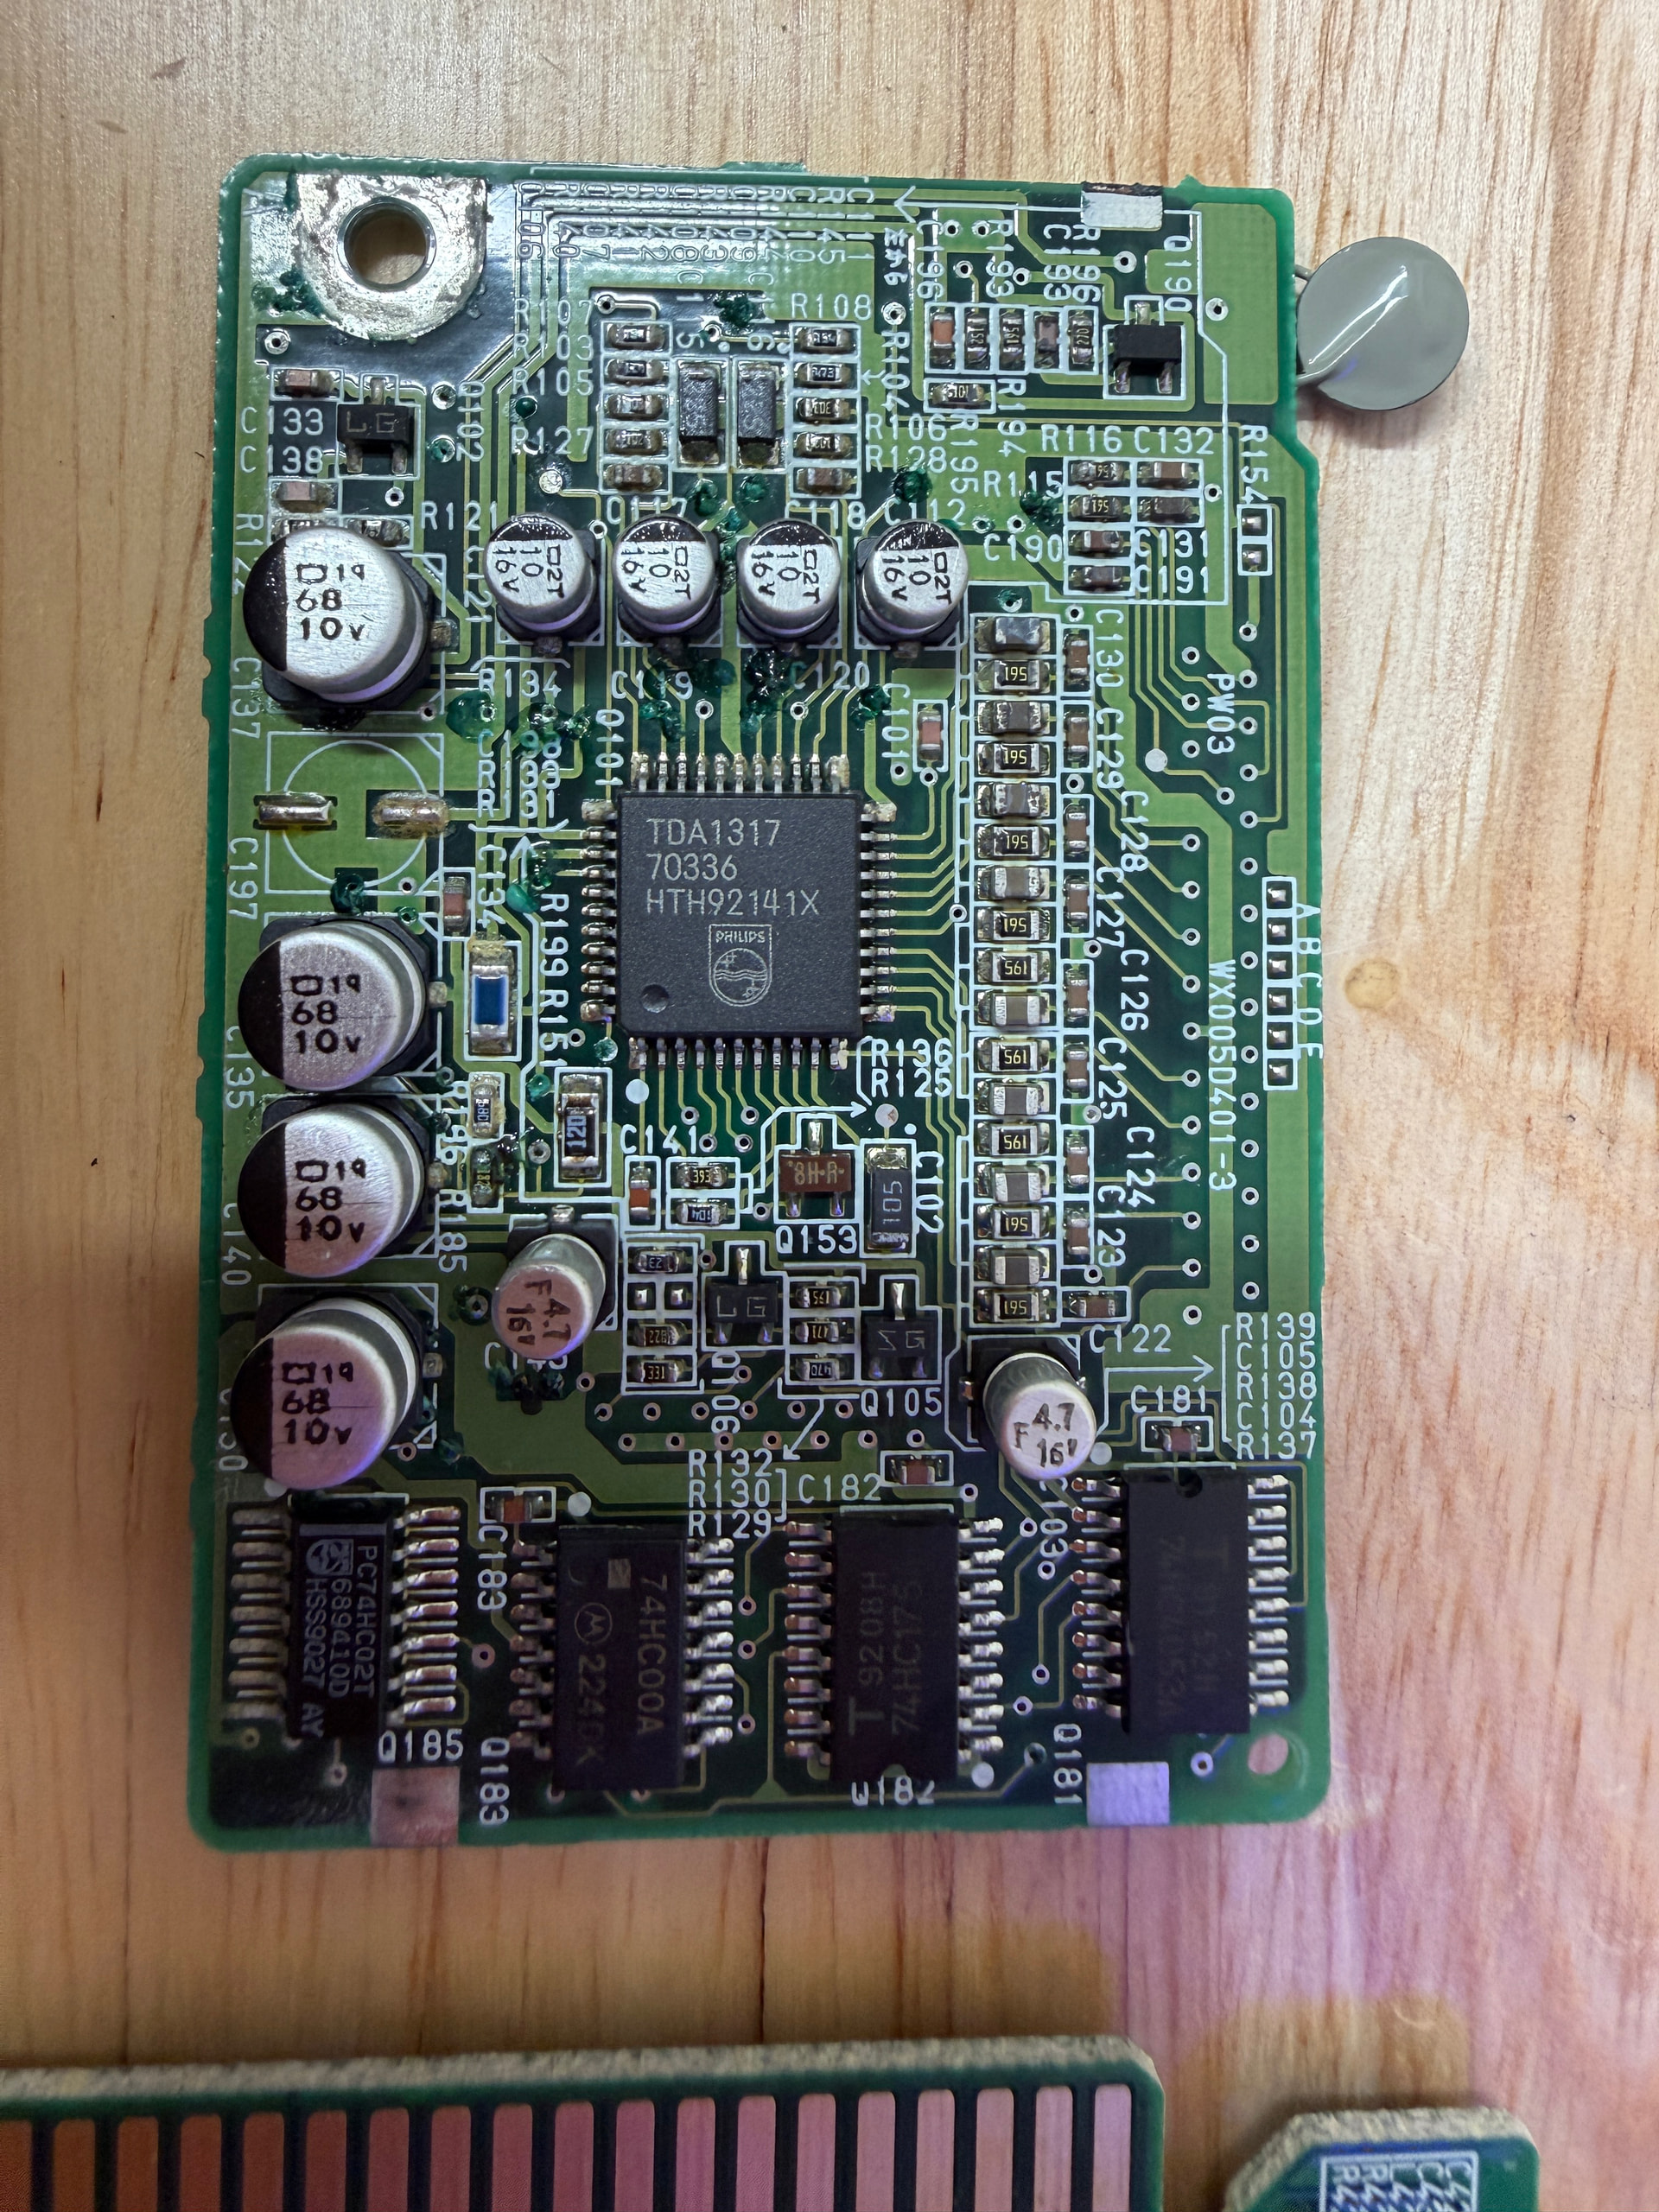
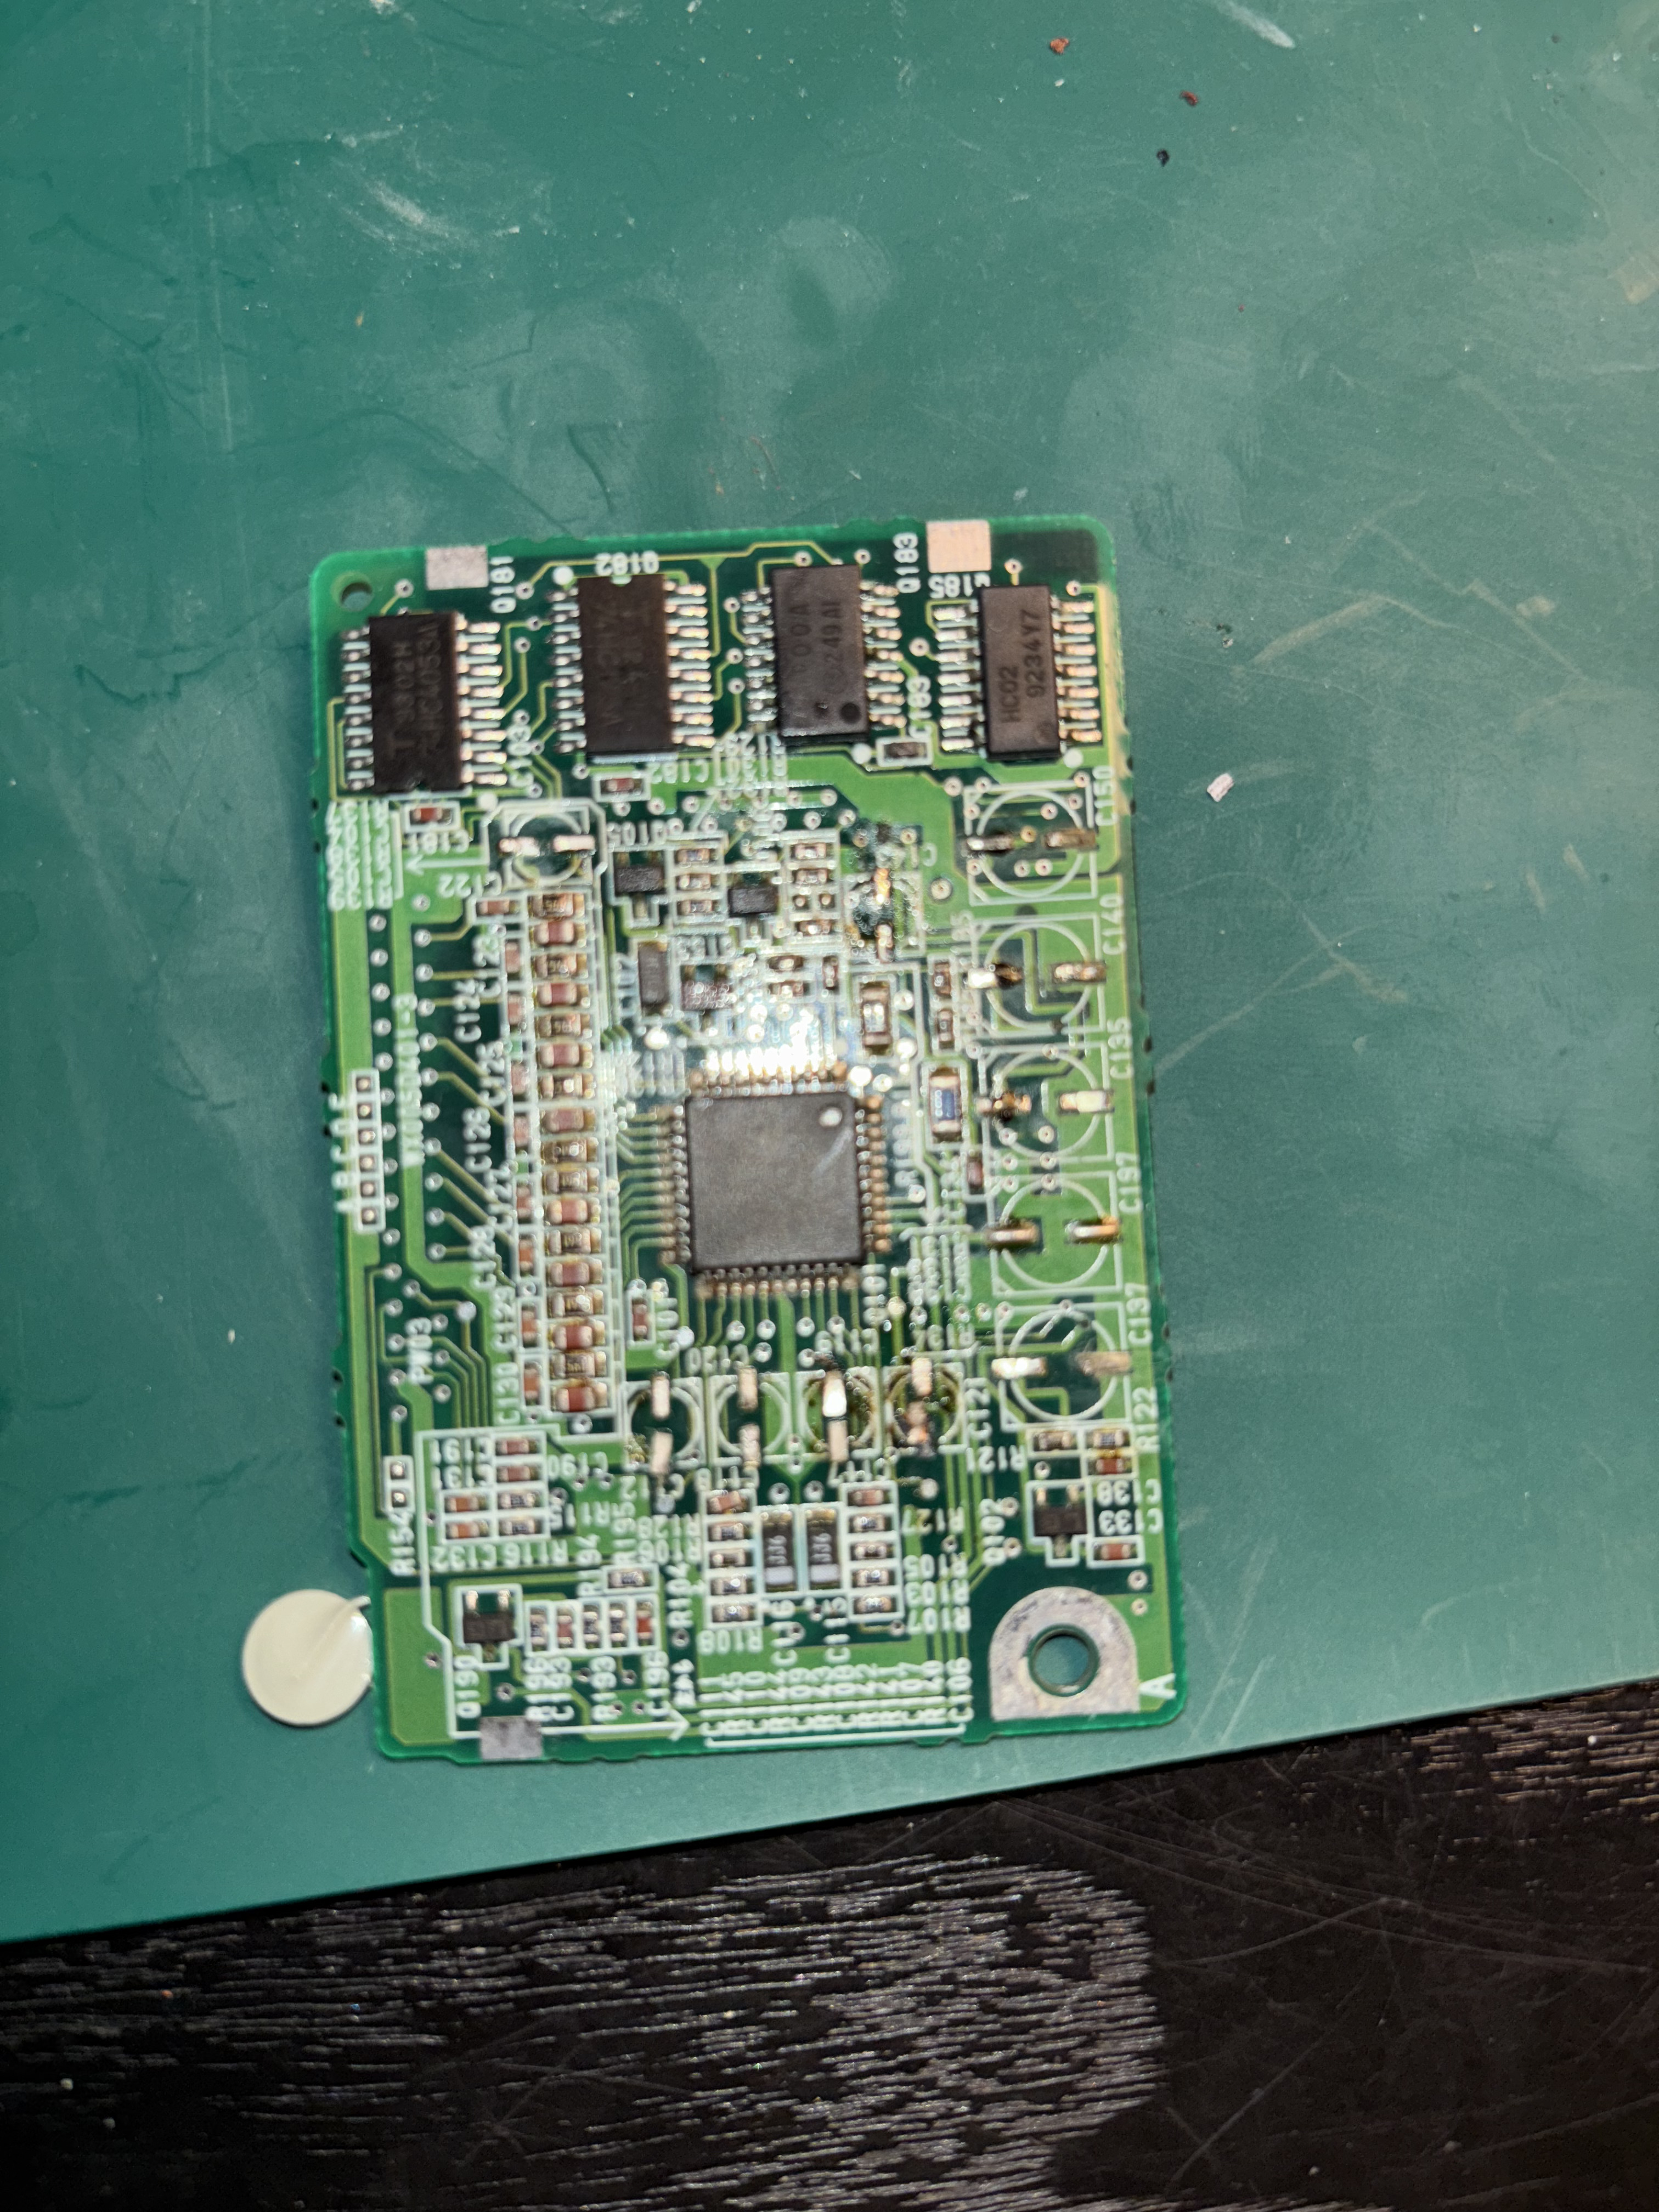
For the small board, the bottom lead of c121 doesn’t stick to the board anymore, but I can probably get the new one on. The C119 top lead connects to the little connect close to the ‘9’. Note that the pic maybe flipped, so “top” as on the top of the picture.
Finally, I cleaned with alcohol and qtips, do you recon a sonic bath in alcohol is still recommended, considering I did not find leakage, no green residue on the tips.